Need to record a quick video? You can use Speakflow to record videos using your webcam.
Overview
Speakflow's video feature lets you record quick videos using your webcam while reading from the teleprompter. We recommend keeping recordings around 10 minutes. For longer content, consider dedicated video recording software.
Paid plan users can save multiple takes and share them via link. Free users cannot currently save recordings.
Recording a Video
Open a script
To record a video with Speakflow, create or open a script in Presentation mode.
Recording
Step 1: Open a Script
Create or open a script in Presentation mode.
Step 2: Arm Video Recording
Click the video toggle switch in the bottom control bar (next to the Start and Restart buttons). When armed: arm-video.png8.05 KB
The toggle slides right and shows an orange/pink gradient
Your camera preview appears in the background
A "Press start to record" message confirms video is ready
Step 3: Start Recording
Click the Start button. A 5-second countdown will appear, giving you time to prepare. You can cancel during the countdown by pressing ESC or clicking Cancel.
Once recording begins:
You'll see yourself behind the script text
The teleprompter scrolls as normal
A timer shows your recording duration
Step 4: Stop Recording
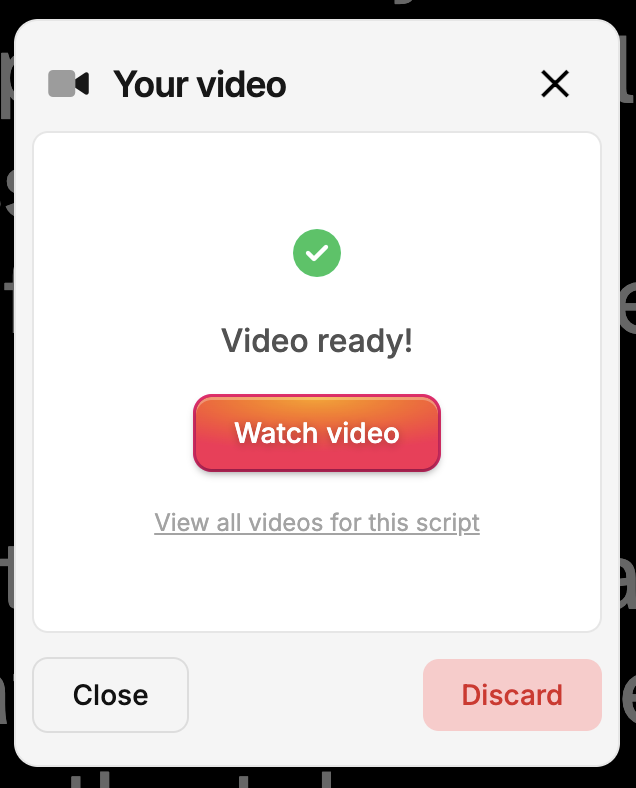
Click Stop (where the Start button was) to end your recording. Your video will be processed and saved. Screenshot 2026-01-16 at 4.21.01 PM.png66.83 KB
Video & Microphone Settings
Resolution
Videos record in HD by default (up to 1080p, depending on your webcam capabilities).
Changing Camera or Microphone
Click the Settings button (gear icon) in the bottom right of the control bar to select a different camera or microphone.
image.png350.62 KB You'll see a list of your recorded videos. Click any video to open its "watch" page. Here, you can play and download the video. The watch page has a unique URL you can share. Copy this URL from your browser's address bar to share the video. Remember, anyone with this link can view your video, so share carefully.
Downloading Your Video
After recording, the video will automatically prompt you to download the video in .webm format. We highly recommend doing this (as a backup file).
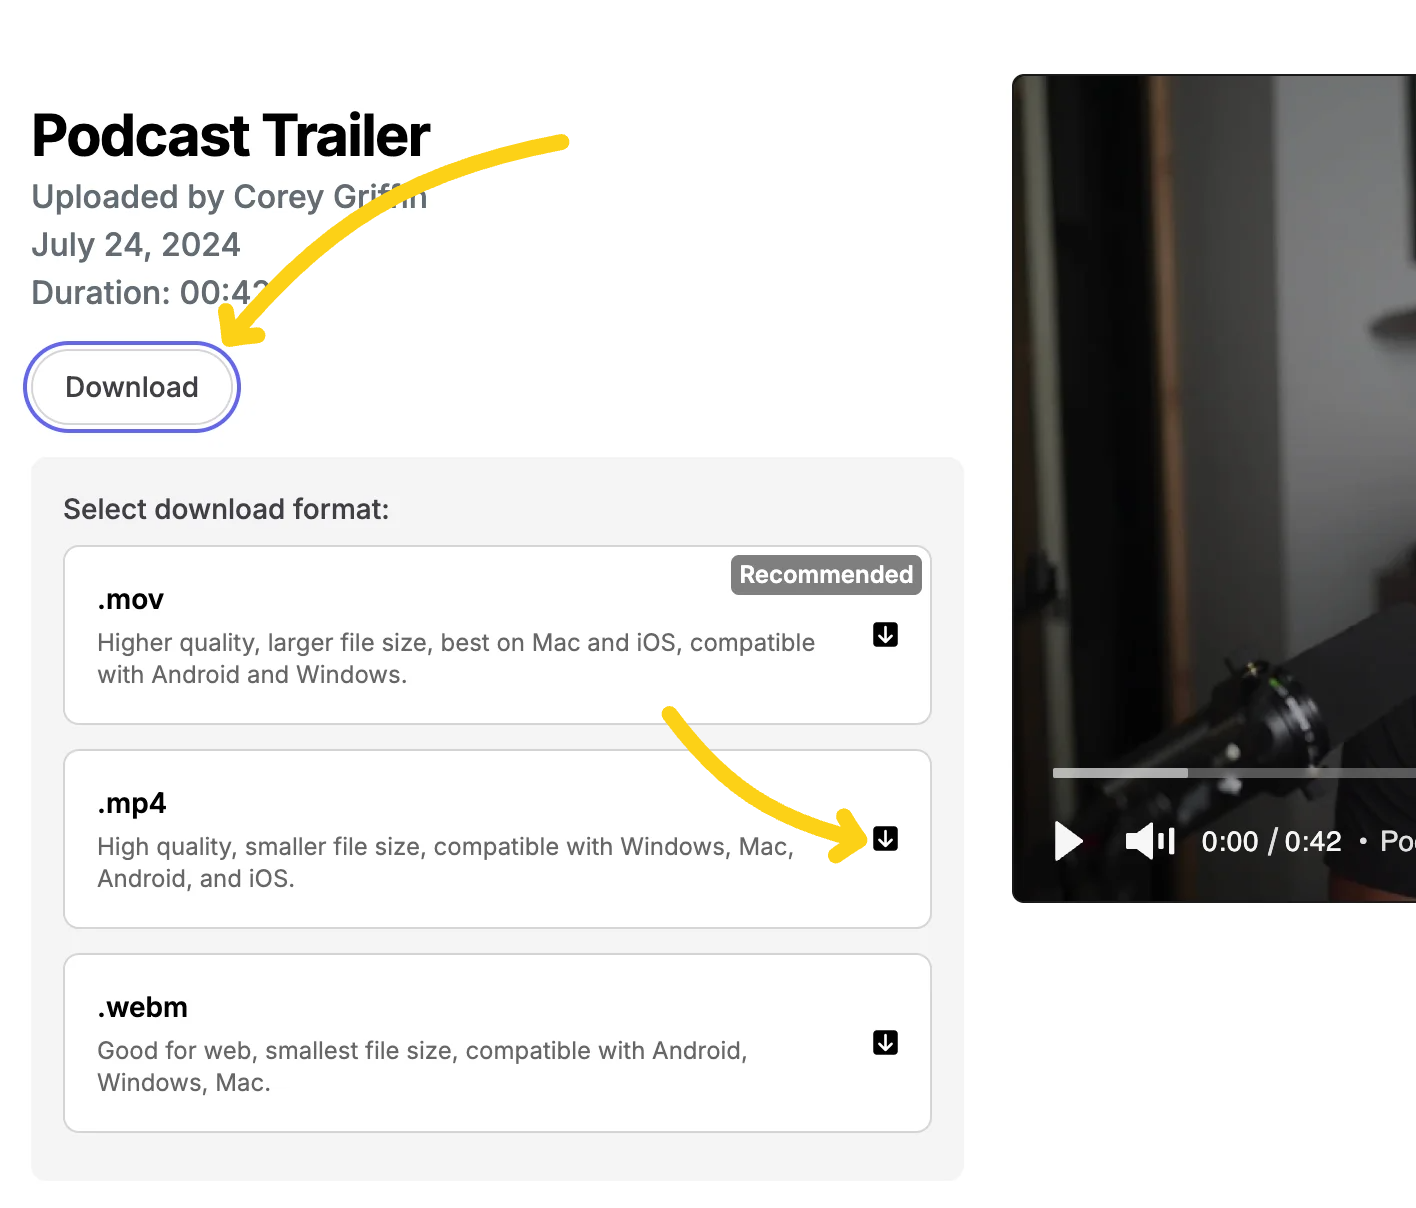
To download a video in .mp4 or .mov formats, go to the "Watch" page. To share, click the gray textbox to copy the URL to the video's page – you can paste it anywhere on the web, in emails, messaging apps, etc.
You can download your uploaded video in different formats:
Go to the video "watch" page
Click the "Download" button to show available formats
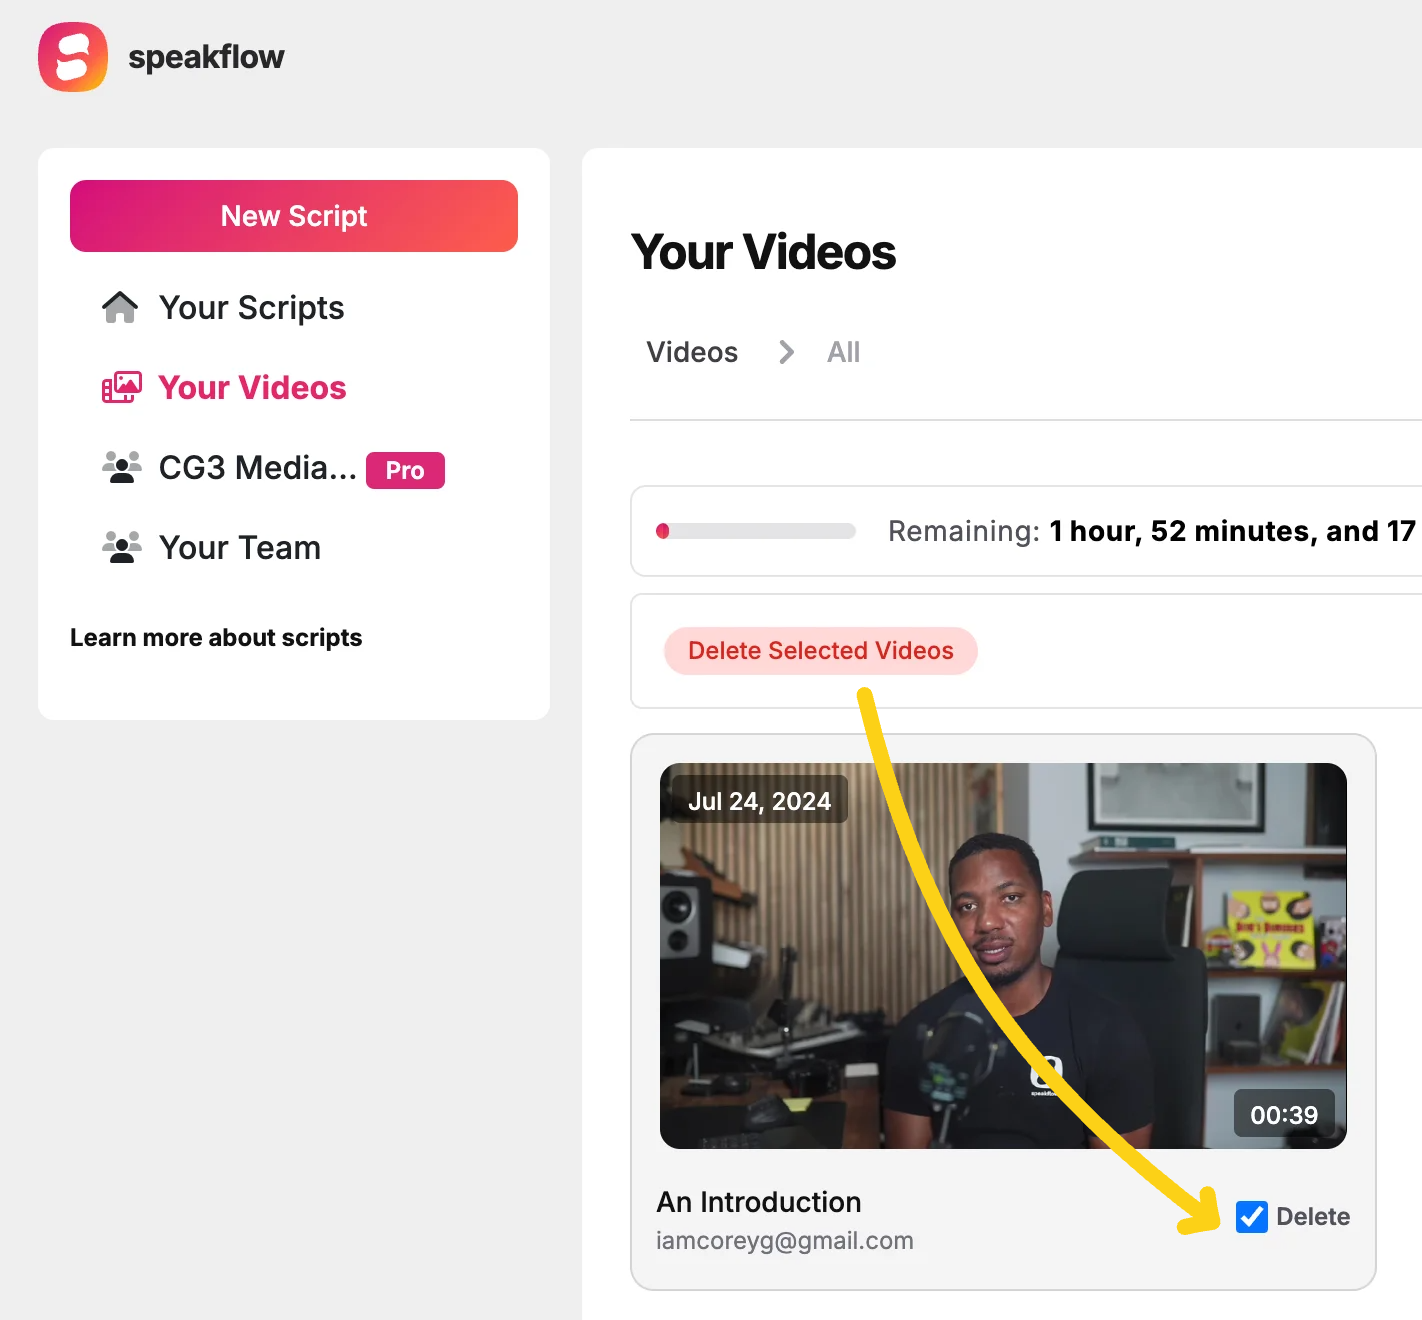
You can delete a video or multiple videos by checking the delete box under each video and selecting "Delete Selected Video".
Your browser will prompt you to confirm and your video will be permanently deleted. image.png491.94 KB
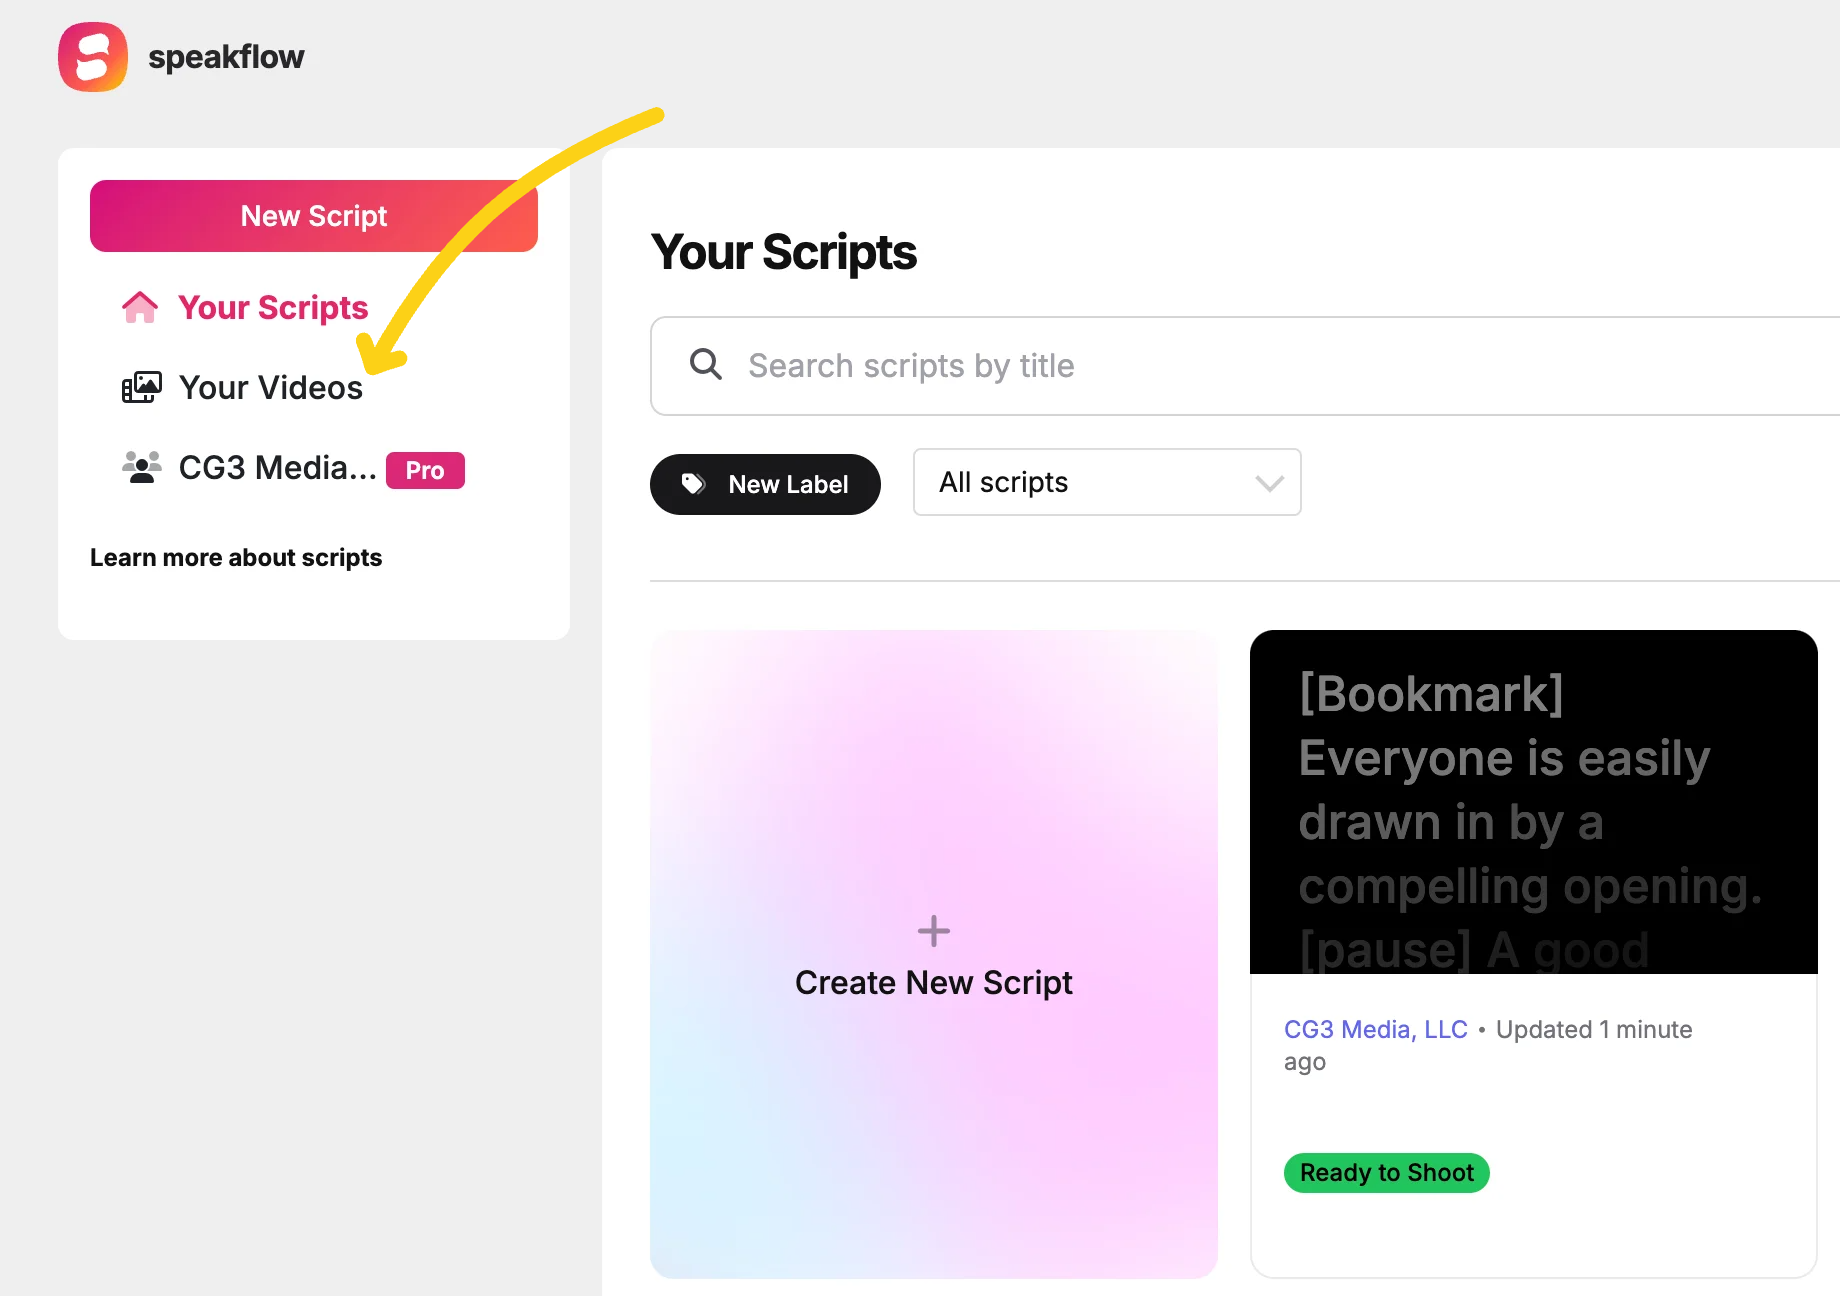
Viewing Previous Recordings
You can see previously recorded videos by going to the Scripts home page, then clicking "Videos" from the dropdown options on a script. This will take you to your "Videos" panel for that script. From this screen you'll be able to view all the takes recorded using that script.