Labels are a way to sort and filter your scripts so you can easily find and organize your scripts. They are also useful for setting the status of a script "Draft", "In Progress", "Ready to Shoot", etc.
Labels are shared with your Team, and each Team has their own set of labels.
Screenshot 2024-05-02 at 1.19.35 PM.png71.55 KB
Creating and adding labels
To add a label to a script, go to your Scripts page. Then click the dropdown menu to reveal options for the script. Select "Assign Labels" Screenshot 2024-05-02 at 1.39.10 PM.png124.69 KB
After clicking "Assign Labels", a new window will appear. Within this window, you'll see an option to add a new label:
Type the name of the label, hit the "plus +" button. Labels are not automatically assigned. Click on any label you'd like to assign to the script. Labels with a solid background are applied to a script. Outlined labels are not applied to the script.
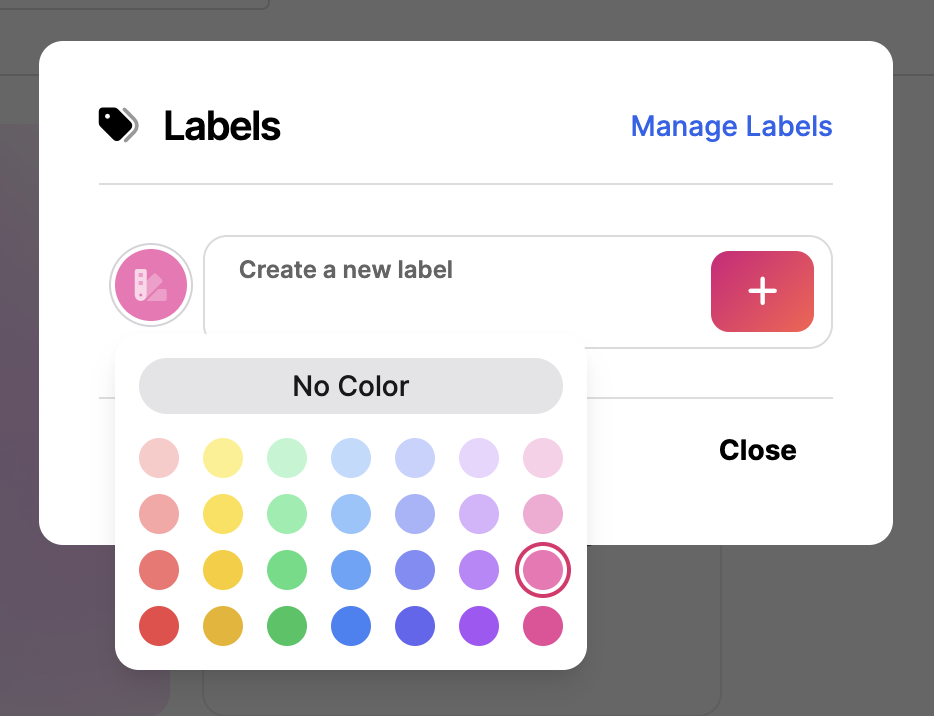
Color Labels
Another way to organize your labels is by color-coding them. Select the swatch icon to the left of the new label name field to select a label color. You can edit each label's colors from the Manage Labels screen. Screenshot 2024-06-14 at 11.30.05 AM.png97 KB Labels appear at the bottom of each individual script below the title. Screenshot 2024-06-18 at 12.16.00 PM.png52.63 KB
Filtering with labels
Now that you have applied a label, you can use the label to filter your scripts. Screenshot 2024-05-02 at 1.30.32 PM.png14.07 KB Use the dropdown (set by default to "All scripts") to select the label you'd like to filter. Screenshot 2024-05-02 at 1.30.39 PM.png64.7 KB
Removing labels
To remove a label, navigate to the "New Label" or the "Assign Label" window. When the modal is open, you'll see all the available labels. To remove a label from a script, click on the label so that it appears as outlined instead of solid.
Note: Removing a label from a script does not delete the label itself.
Deleting Labels
Delete a label by navigating to the "Manage Labels" page—found in the upper right hand corner of the "New Label" or "Assign Labels" window.
Screenshot 2024-05-02 at 1.19.35 PM.png70.75 KB The "Manage Labels" page will show a list view of all your created labels, with an indicator for how many scripts are currently assigned those labels.
Screenshot 2024-05-02 at 1.23.40 PM.png101.83 KB
Note: Labels that are currently attached to a script cannot be deleted. To delete, first remove them from the script.